How to create and publish your first configurable Ruby Gem
You probably are a Ruby fan just like me and want to know how to share your work through an awesome configurable Ruby Gem, don’t you? Existing tutorials on the internet teach how to create a Ruby Gem but don’t teach you how to make your gem configurable and flexible to the developers which will make use of your incredible library. That’s exactly what we will be doing today.
How to create and publish your first configurable Ruby Gem
You probably are a Ruby fan just like me and want to know how to share your work through an awesome configurable Ruby Gem, don’t you? Existing tutorials on the internet teach how to create a Ruby Gem but don’t teach you how to make your gem configurable and flexible to the developers which will make use of your incredible library. That’s exactly what we will be doing today. Together we are going to learn how to make a gem from start to finish and even make it available to the world by publishing to the rubygems.org, shall we?
I’m assuming that you already have the minimal setup for this tutorial: ruby and a code editor of your choice.
Step 1: Choosing a name
The first step to creating any great ruby gem is to come up with a great name. New gems are constantly being created so it can be a little tough to come up with a name that hasn’t been taken. Be sure to check the official public gems registry: rubygems.org to see if your name has already been taken.
For this tutorial, I’m going to create a little ruby gem called trio-blog-api which aims to fetch Trio’s website and give us the last blog post informations.
Step 2: Setting up the boilerplate code
In order to set up our boilerplate code, we’re going to use the bundler gem to make it easier. So let’s install it:
gem install bundler
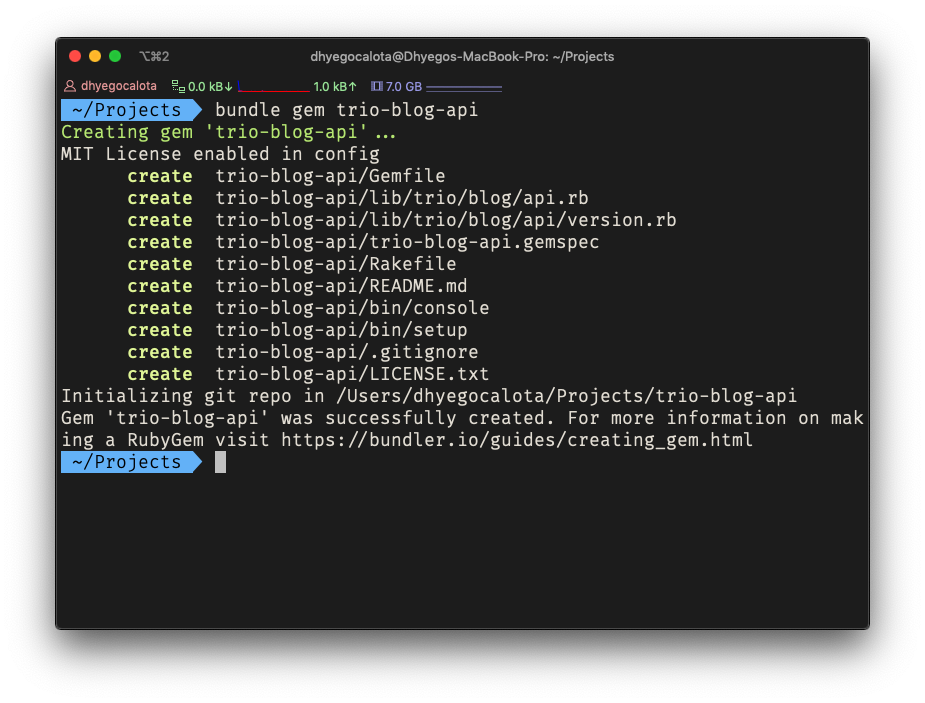
Now that you’ve installed bundler we can easily run the generate command:
bundler gem your-gem-name
If this is your first time running this command you’ll be prompted to choose some preferences like the license that you want to use. If you’re not sure about those choices you can read more about the basic of testing and how to properly choose your Ruby Gem’s license.
I’ll be using MIT as my license choice.
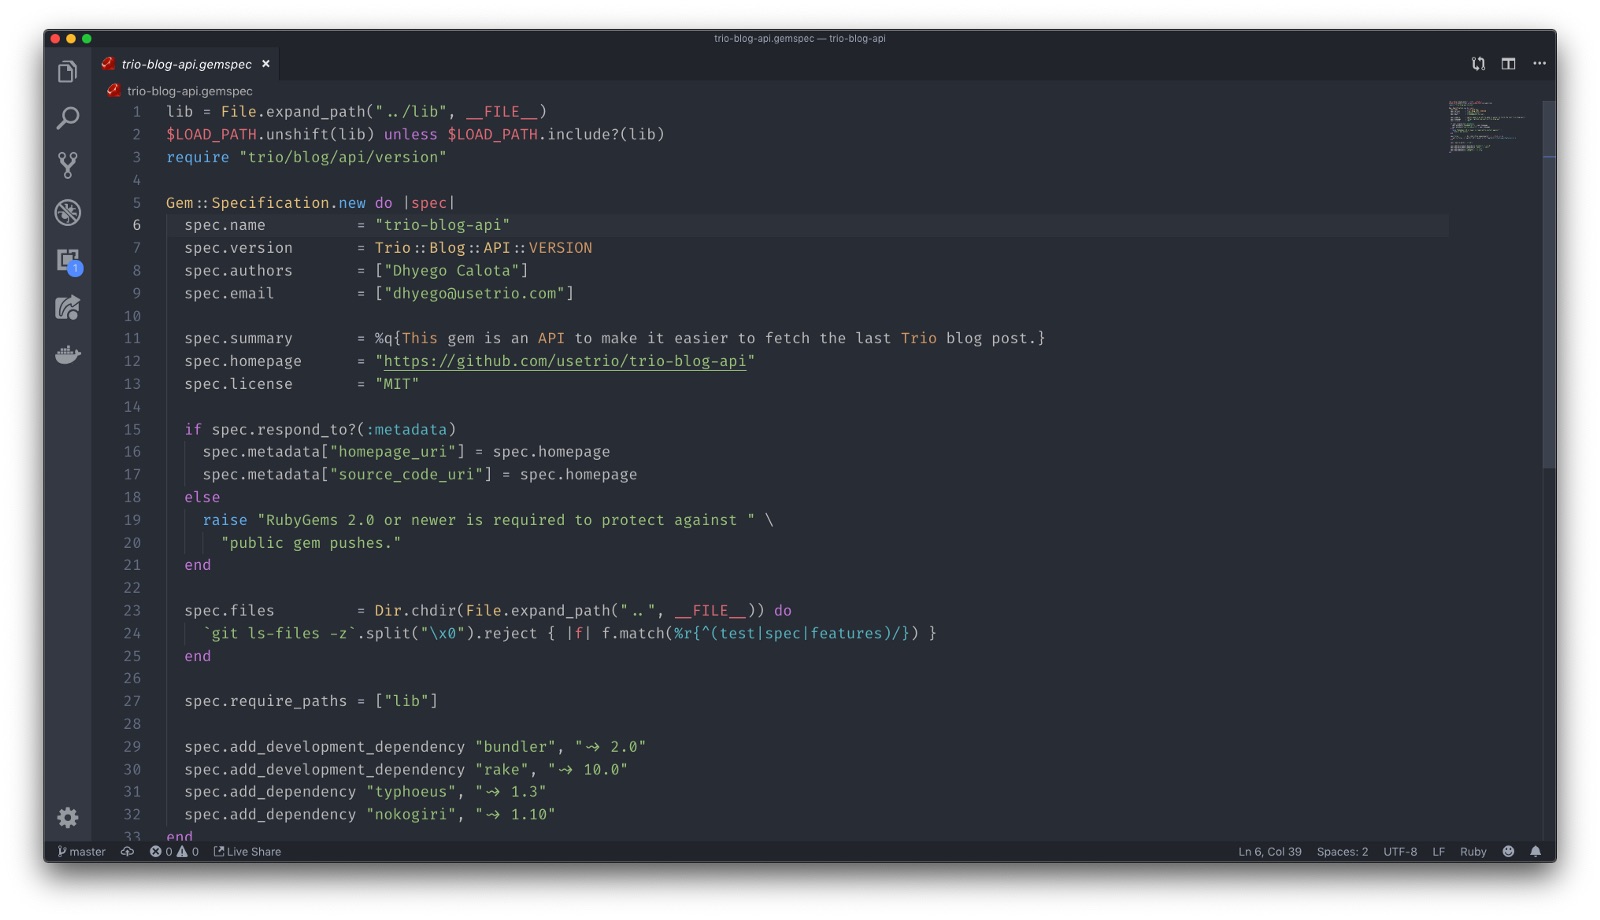
The next step is to open the project in your code editor and make your changes to the your-gem-name.gemspec file. I’ve configured mine like so:

Step 3: Making your Ruby Gem configurable
Since one of our goals is to make our gem configurable, these are the settings that we’ll make available:
| Option | Description |
|---|---|
| base_url | Base URL of Trio’s website |
| post_page_path | Post page path URL that contains the last post |
| post_selector | CSS selector of the post wrapper element |
| title_selector | CSS selector of the post title element |
| thumbnail_image_url_selector | CSS selector of the post thumbnail image element |
| post_url_selector | CSS selector of the post link element |
| author_name_selector | CSS selector of the post author name element |
| author_avatar_image_url_selector | CSS selector of the post author avatar element |
To make that happen we’re going to create the config file lib/trio/blog/api/config.rb
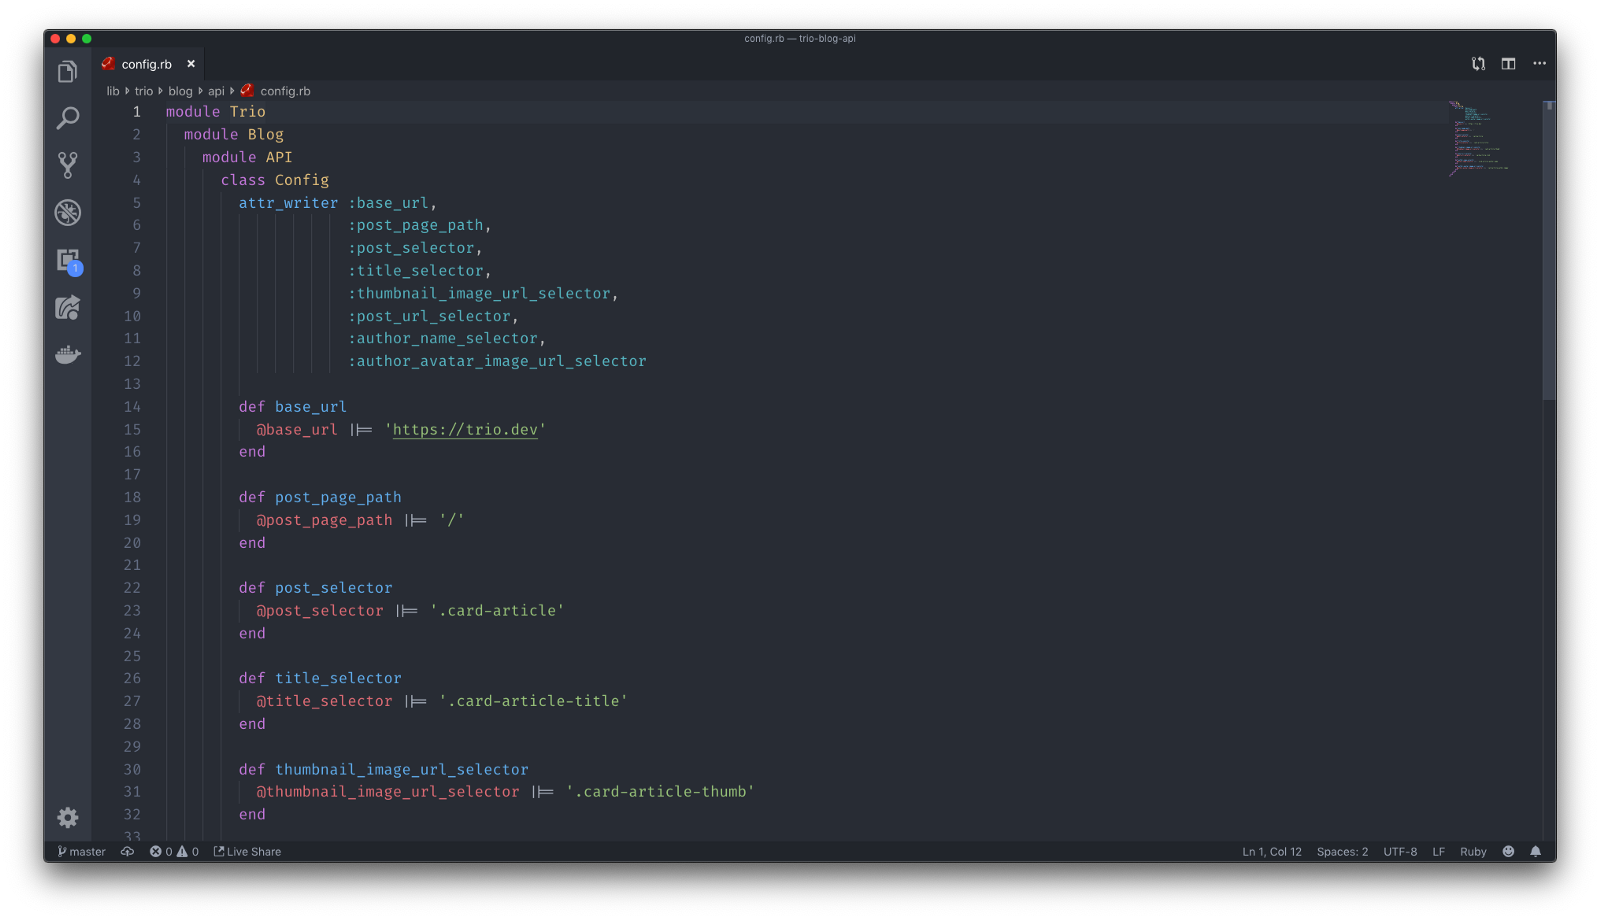
The confib.rb file just contains a class with some attributes of readers and writers. In order to make use of these changes, we must also make some changes in our main library module:
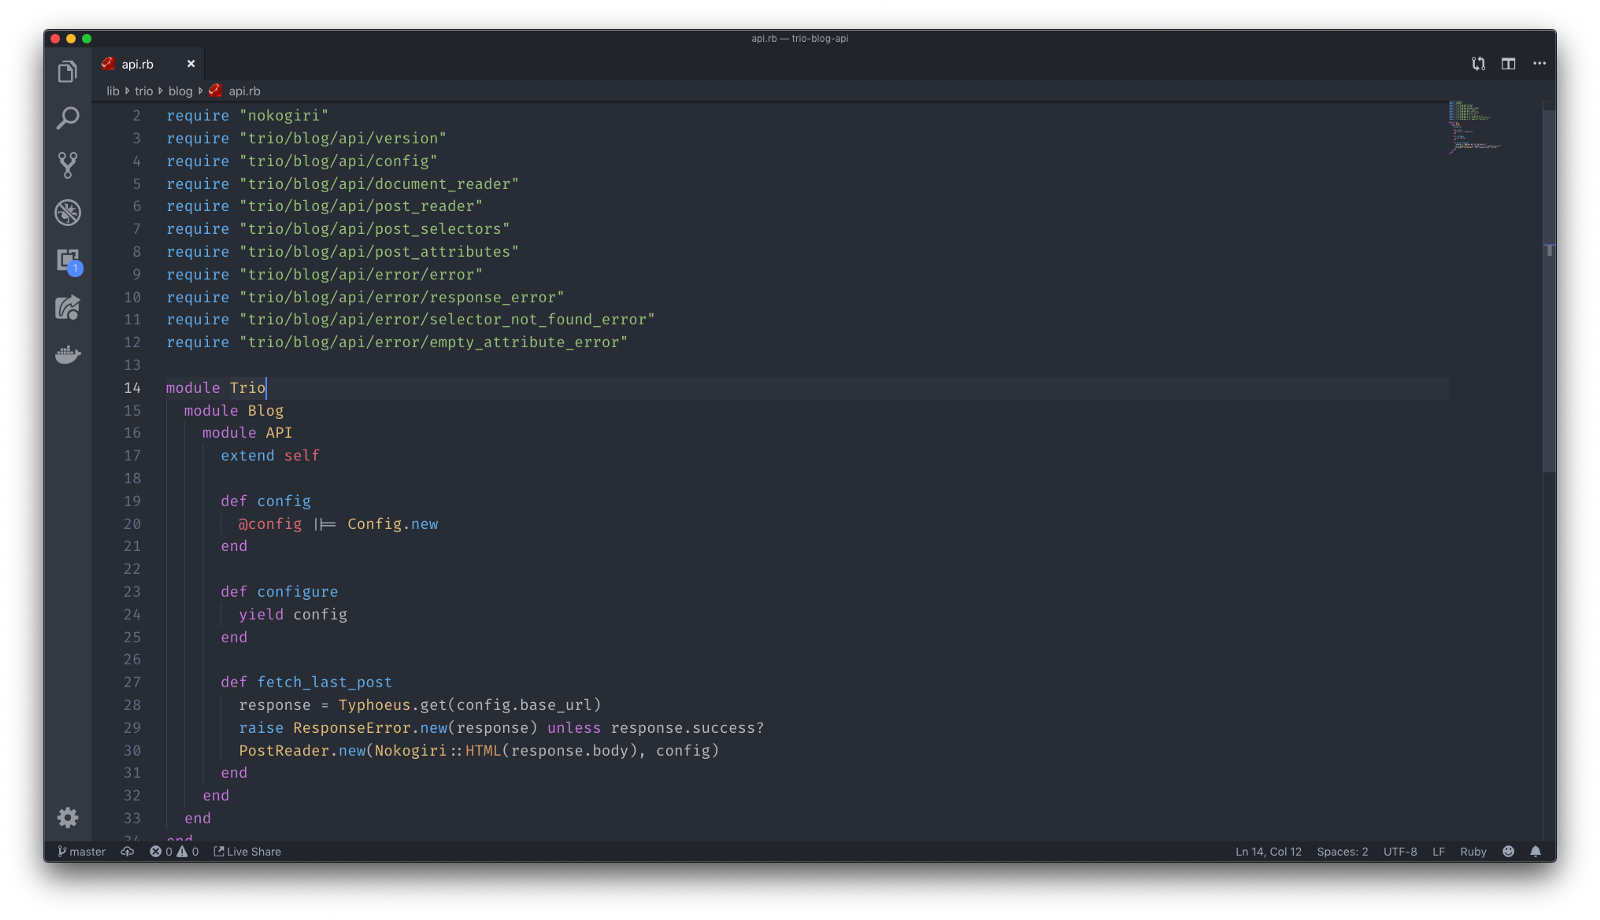
This way we’re able to configure our library like this:
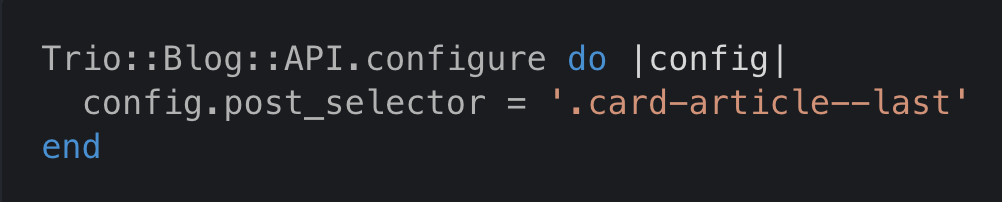
Pretty cool, right? In order to make a real stable version of this library, I’ve implemented the code to fetch the last request as simple as possible. You can see the entire project on our repository page.
Step 4: Releasing your first version
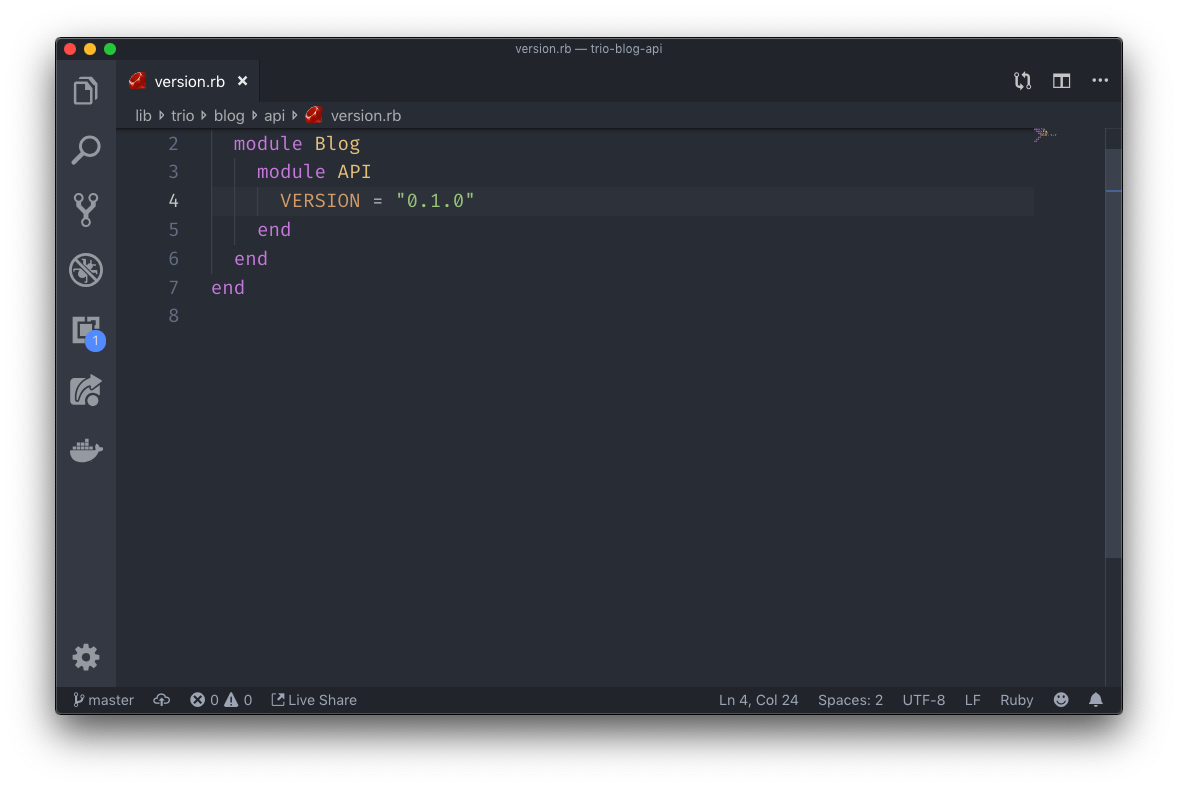
Now that we’ve finished our library, it’s time to release the first version. Versioning isn’t difficult to wrap your mind around since we use conventions like SemVer. We’re going to follow this convention to release our beta version v0.1.0.
Let’s make sure that our Version constant has the right value:
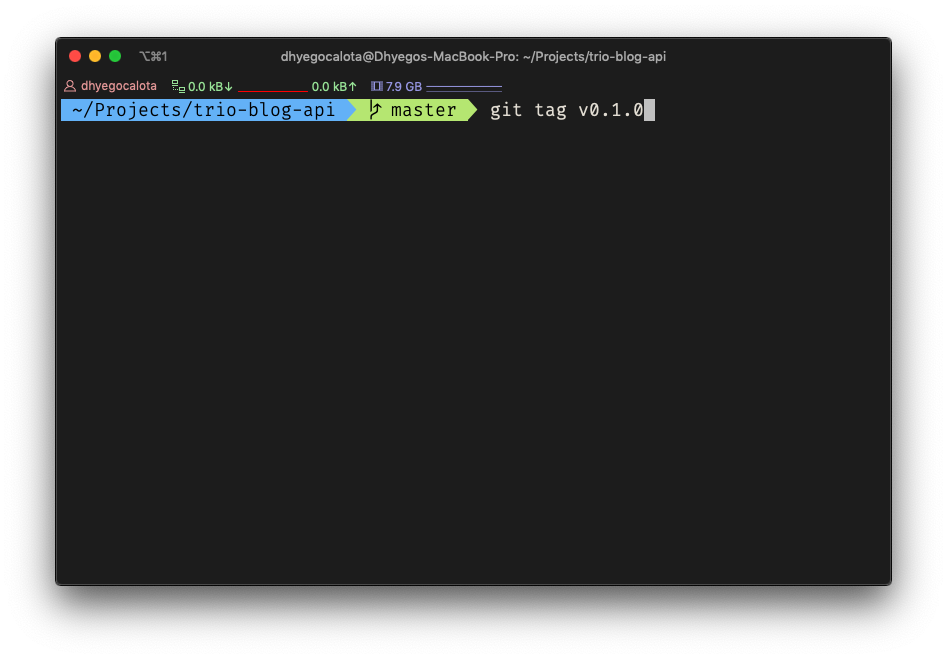
Next, we create a git tag about this release version:
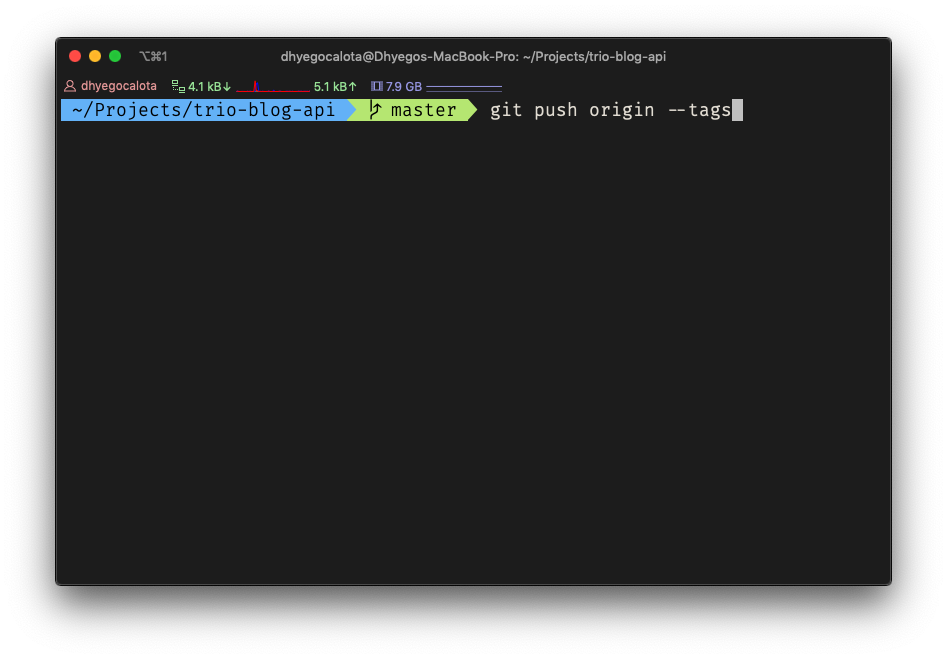
… and finally push it to the remote repository:
Congratulations! You just created your first configurable Ruby Gem. For now, you can’t install it using rubygems.org, but you can install it using the GitHub repository. Just add this line to your project’s Gemfile.
gem 'trio-blog-api', '~0.1', github: 'usetrio/trio-blog-api'
Step 5: Publishing it to rubygems.org
Now we can make our gem available on rubygems.org.
This probably is easiest step :)
We can create a deployable package by using this command:
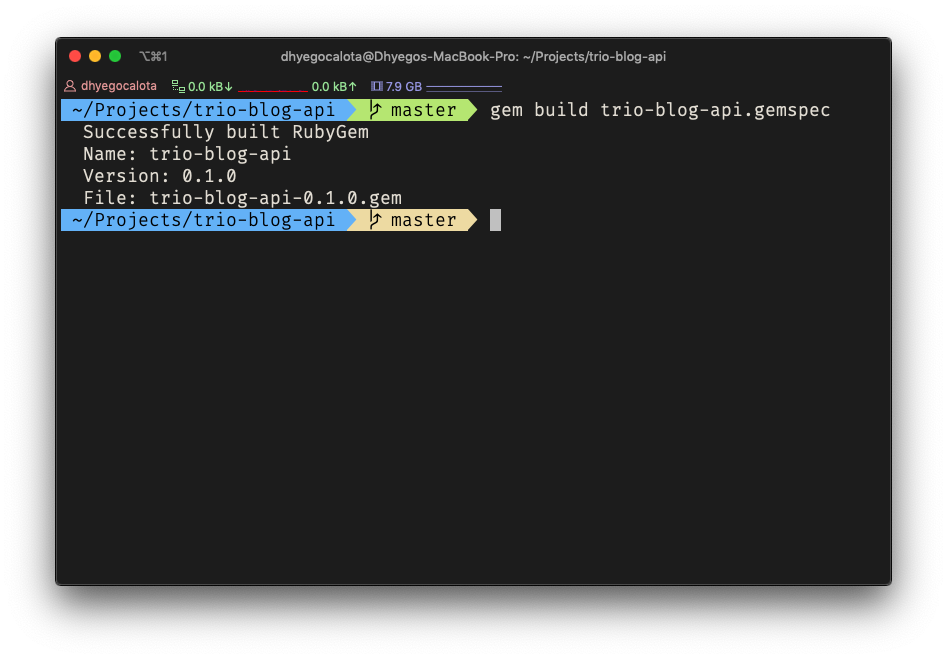
That command generated a file called trio-blog-api-0.1.0.gem and now we can push it to the rubygems by using the following command:
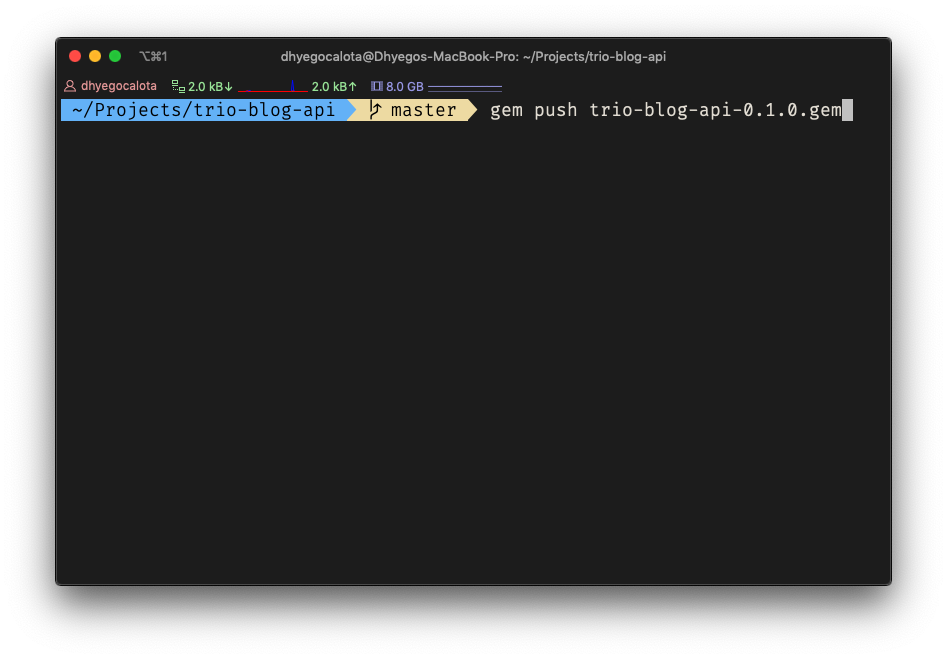
If this is your first push you’ll be asked about your credentials at rubygems.org. You can create an account there if you don’t have one yet.
Just make sure to follow the instructions to sign in and also to have chosen a unique library name.
Voilà! Your gem is published and available to the world. Now you can install it by using just:
gem install trio-blog-api

I hope this brief post helps you to release your contribution to the world :)
Feel free to ask me if you have any questions.
Originally published in https://trio.dev/blog/how-to-create-and-publish-your-first-configurable-ruby-gem-91060


